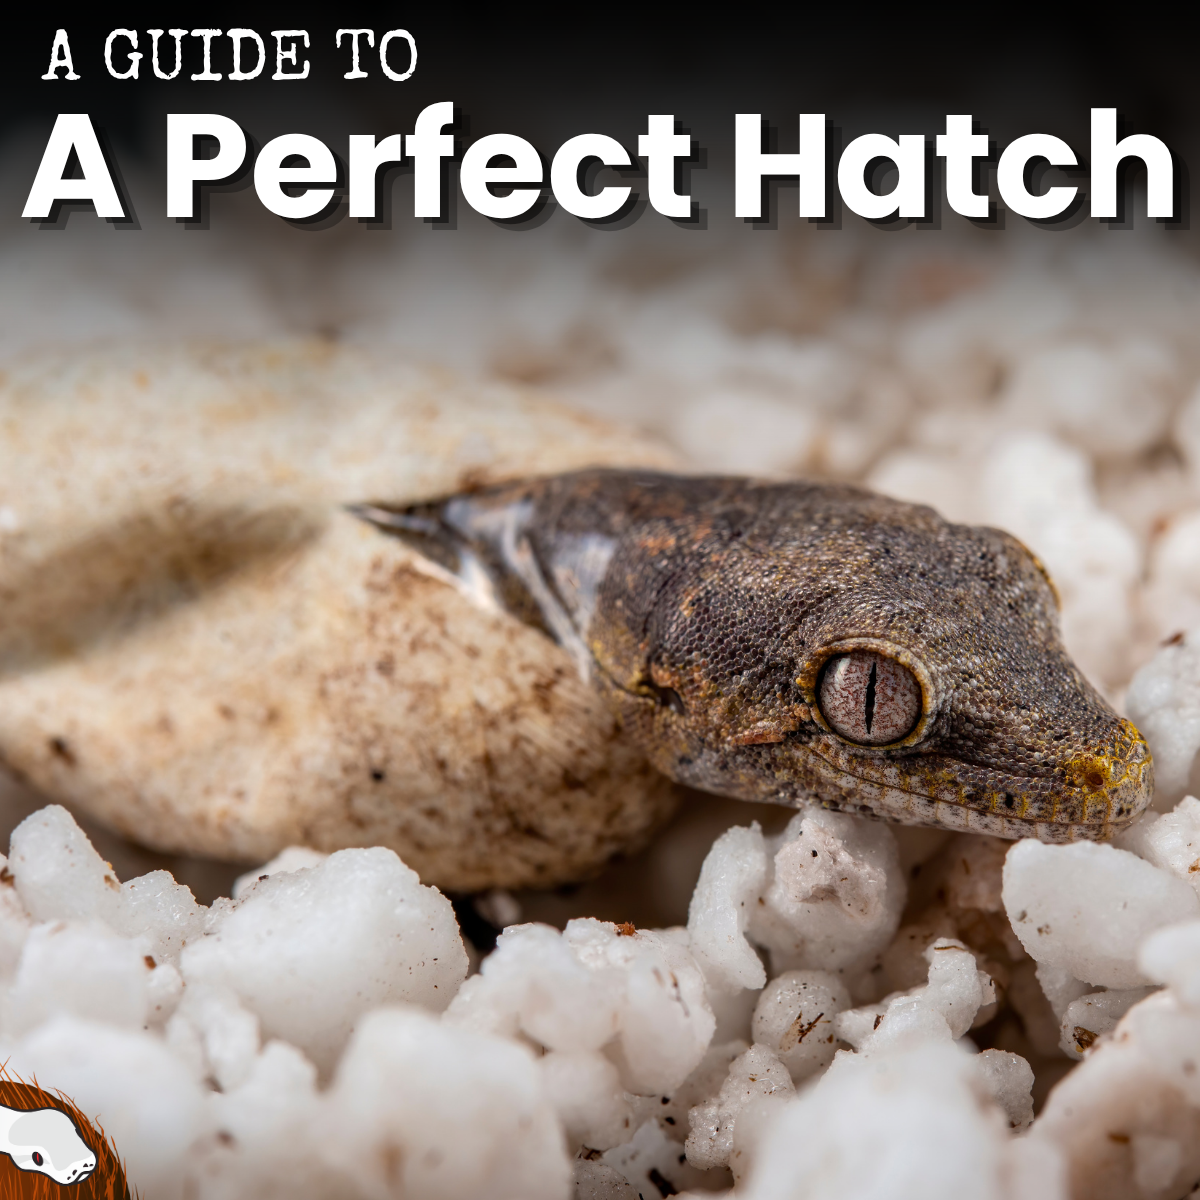

Ever cracked open a clutch of reptile eggs only to find disappointment instead of hatchlings? Or maybe you’ve heard the myth that reptile eggs can just be left in the enclosure and nature will do the rest. The truth is, successful hatching often comes down to one thing: the right incubator setup. If you want to boost your odds and hatch healthy babies, it’s time to get serious about incubation.
Why Incubators Matter
Incubators aren’t just for breeders with racks of eggs. Even if you’re a hobbyist with a single clutch, a good incubator can mean the difference between thriving hatchlings and heartbreak. Reptile eggs are sensitive to temperature and humidity swings, and most home environments just can’t provide the stability they need. That’s where incubators shine.
What Makes a Great Incubator?
Not all incubators are created equal. The best ones keep temperature and humidity rock-steady, with minimal fluctuations. Some folks use commercial reptile incubators, while others DIY with coolers, heat mats, and thermostats. The key is consistency and making sure you're set up for success.
“A steady environment is the secret ingredient for hatching.”
Look for these features:
- Digital thermostat for precise temperature control
- Easy-to-read humidity gauge
- Good airflow without drafts
- Enough space for your egg containers
Setting Up for Success
Before you load up your incubator, make sure it’s dialed in. Run it empty for a day or two to check for hot or cold spots. Use a reliable thermometer and hygrometer, don’t trust the built-in ones blindly! Place eggs in containers with a suitable substrate like a 1:1 ratio of vermiculite or perlite, moistened just enough to clump but not drip.
Tips for Different Species
Every reptile has its own preferences. Some species like it around 80 to 90°F, while others need it a bit warmer or even a bit cooler. Humidity needs can vary too. Always check the requirements for your species and adjust accordingly. Some eggs need to be partially buried, others just rest on top of the substrate. Also keep in mind if the species you are incubating has temperature-dependent sex determination.
Troubleshooting Common Issues
If you spot mold, gently remove it with a cotton swab. Healthy eggs have natural defenses to resist surface mold but dirty equipment, bare hands, or unsterilized substrate can introduce bacteria and fungi that can destroy a whole clutch.
Humidity imbalances can also cause issues. If eggs start to dent or collapse, check your humidity, it’s probably too low and can dehydrate the developing embryo. Condensation on the eggs? Humidity may be too high which encourages bacterial growth. Making sure your incubation substrate is ready from the start can help combat these issues, and also keep track throughout the eggs development.
If needing to check the eggs development during the incubation process make sure you don’t rotate them. Unlike bird eggs that are stable during development, reptile eggs can be severely damaged if turned during their incubation. One way to solve this is marking the top of the egg when removing them from where they were laid and placing them in that same position in the egg box.
No two setups are exactly alike. Don’t be afraid to tweak your incubator or try new substrates. Keep notes on what works for your reptiles. The more you experiment, the better your results will be.
Conclusion
A reliable incubator is your best friend when it comes to hatching healthy reptiles. It takes the guesswork out of the process and gives your eggs the best shot at life. Ready to see those tiny noses poke through the shell? Set up your incubator, dial in those settings, and watch the magic happen.